
Accessing your device through Onomondo can be done by setting up an OpenVPN client.
Which program to use?
OpenVPN
OpenVPN has their own clients that can be accessed using:
- MacOS (OpenVPN Connect)
- Windows (OpenVPN Connect Client)
- Linux (OpenVPN Community Client)
- Web Browser (OpenVPN Connect Client)
MacOS alternatives
Another free option that is quite popular is called TunnelBlick.
A more advanced option to choose is called Shimo that requires a one-off payment per user. There are others out there that you can test, if you wish.
Windows alternatives
Currently TunnelBlick is for MacOS only and we have not tested other free options. However, for a small fee Vicosity is a popular alternative.
Follow the different guides to install the client of choice.
You can turn on VPN access for a user in the Users tab of the Management App and click on the "edit user" button.
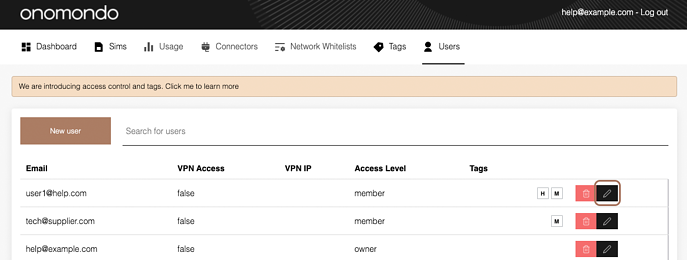
To do this, you will need to be an "admin" user. Otherwise, contact one of the admin users on the platform to activate it for you. If they don't know how to add VPN, you can send them to our explanation on how to do this here.
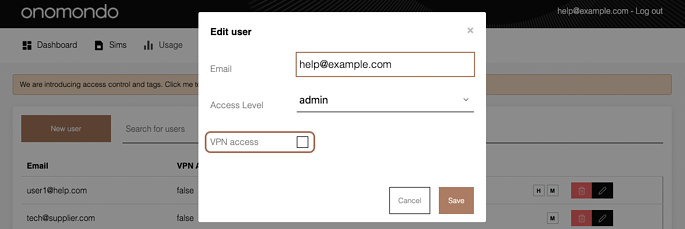
Once you have clicked on the edit user button, you can check the VPN access box and click "Save".
Download/Saving the template configuration file (*.ovpn)
Once activated you will need to download/save the configuration file (*.ovpn).
To get the file you need to download the file from our server.
Adding the completed configuration file
Once you have downloaded the file, open the VPN client of choice. There will be an option for importing the VPN server configuration. Use the option that asks for a local file. Once that is finished you can log in using the email address you sent us, and the password it uses to log in on Onomondo.
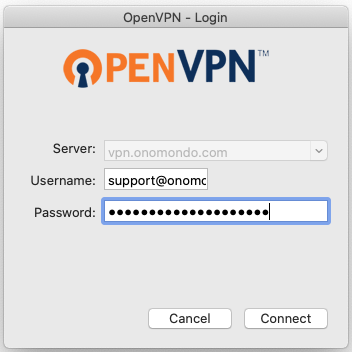
For example, using OpenVPN on mac:
Drag and Drop Version: Newer versions of OpenVPN Connect on Mac has a different layout. Instead of using a URL, you can go to the tab "File"
- Drag and drop or upload the .opvn file, This will create a VPN profile based on the information provided.
- Set the Onomondo App user's email (and password if you want to save it, otherwise you will be asked for your password when you connect)
- Connect to the the VPN Profile.
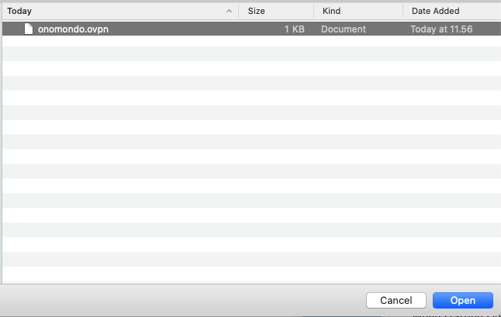
Step 1 - Import from local file.

Step 2 - Select the completed file.
Step 3 - Connect to Onomondo's VPN.
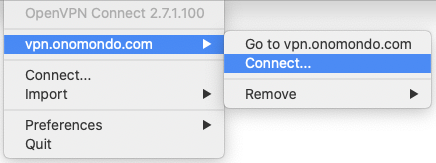
Step 4 - Sign in using the activated email and your Onomondo password.
How do I access the SIMs once I am connected?
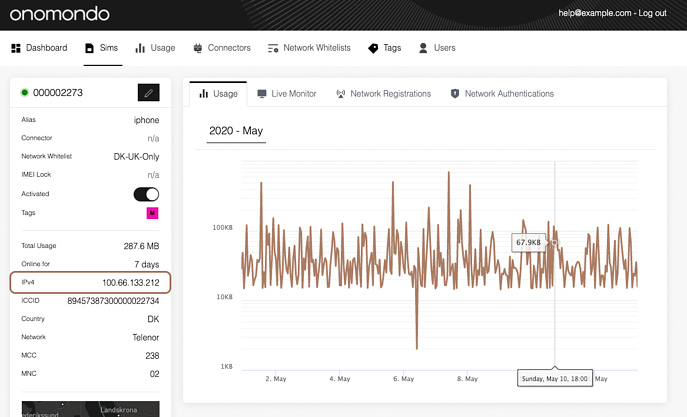
There are different options available depending on your device and how it is set up. No matter the option, you will need the SIMs IP address.
This can be found under the Sims tab on Onomondo.
What is accessible? When a vpn connection is established there is full network access to the device. That means that any service installed on the device (like ssh) will be accessible through the VPN.
VPN Example - sending a ping
It is common for a device with a Micro controller to be able to respond to pings. You are probably aware of this feature on your device already and whether or not is active.
While the device is connected, It stays online for 1 minute giving you time to run the ping command in your computer's terminal using the IP of the SIM that can be found on the SIM page.
Stay on the SIM page, as you will be able to see the results of the ping in Traffic Monitor
Code example
ping 100.67.251.66 -c 8
IP used is 100.67.251.66, is an example IP and you should use your own SIM's private IP. Adding the "-c 8" will ping 8 times.
Afterwards, you can go have a look at the Traffic Monitor tab on the SIM page you were connecting to and you will see ICMP packets going to and from the connected SIM. These are the pings and device responses.
What if I am still having problems?
Try looking up connectivity guides for the hardware. If you are still unsure contact us on support@onomondo.com.
Otherwise, happy tunnelling.