
Using an Azure Connector will help send data directly from your device to your Azure IoT Hub in a few quick steps.
Here is a quick how to guide to create and add a Azure Connector to a SIM.
Requirements
- An active Azure IoT Hub instance
- An Onomondo SIM
How-to:
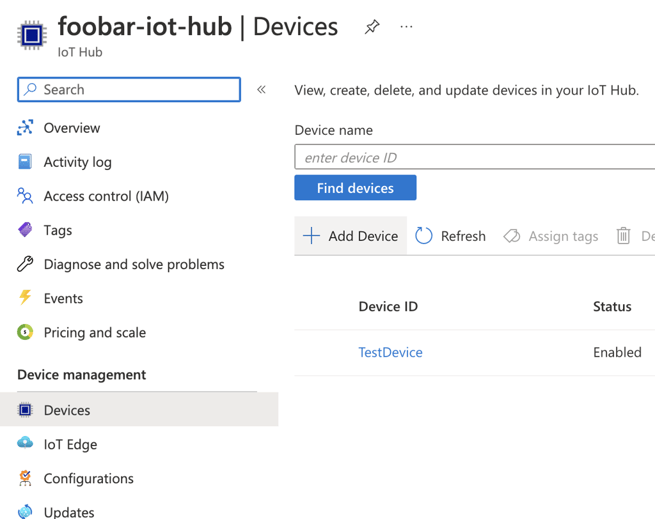
- Go to "Devices" in the sidebar of the IoT Hub instance and click "Add Device"
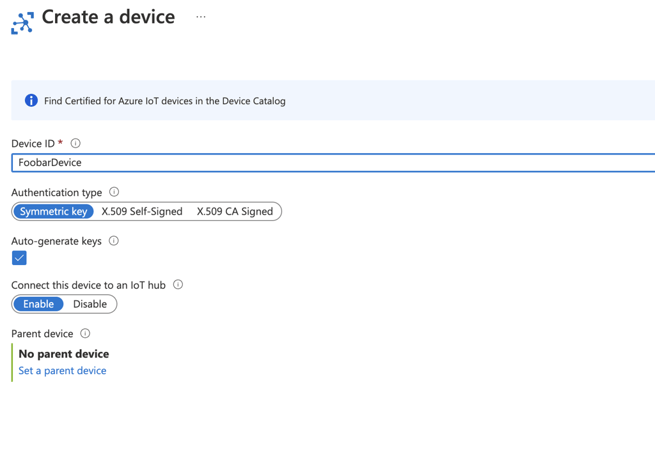
- Enter an appropriate name in the "Device ID" field and click "Save"
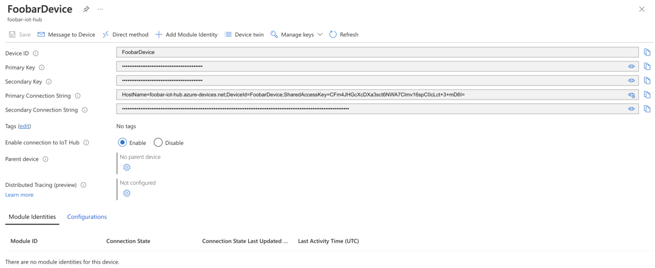
- Click your newly created device

- Copy the "Primary Connection String"
- Go to https://app.onomondo.com/connectors and create a "New connector"
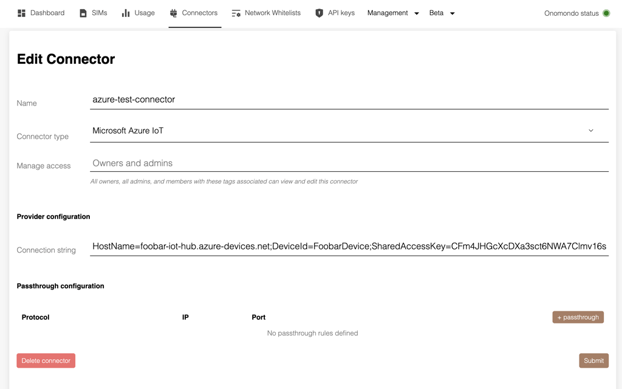
- Give the Connector a name
- In the "Connector type" dropdown choos Microsoft Azure IoT
- Paste the connection string that you got in the previous step into the "Connection string" field
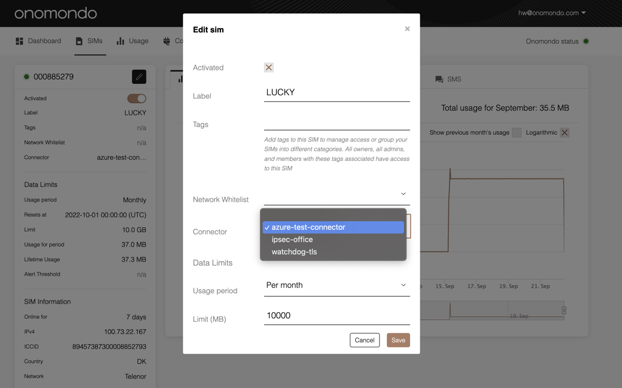
- Add the Connector to a SIM
Now all TCP data from the device will be sent to Device endpoint on your Azure Portal.
Only TCP Protocol supported
If you want to send data via UDP packets to Azure through a Connector, look into setting up a Azure DPS connector instead. You can still send UDP packets to other servers by bypassing the Connector using a passthrough rule (see below).
You can customize which data is ignored by the Connector by setting up passthrough Rules.